Homesteading has become increasingly popular in recent years as more people seek to reduce their reliance on commercial goods and become more self-sufficient. Whether you’re an experienced homesteader or just starting out, there are plenty of DIY projects you can start with to work toward self-sufficiency.
This post may contain affiliate links, which means I’ll receive a commission if you purchase through my links, at no extra cost to you. Please read the full disclosure for more information.
In this blog post, we’ll explore five essential DIY homestead projects that can help you become more self-sufficient while not breaking the bank.
1. Composting
Composting is a cornerstone of sustainable living! It allows you to recycle organic waste into nutrient-rich soil for your garden, reducing the need for chemical fertilizers. To start a compost pile, designate a suitable area in your yard, then use scrap wood or free pallets to build a 3 sided container of sorts. Next, gather kitchen scraps like fruit and vegetable peels, coffee grounds, and eggshells and start a pile in your contained area.
Note: It’s super important to combine these with yard waste like dry leaves, grass clippings, and, as a bonus, free wood chips from local tree trimming services. Simply call around to local arborists and ask if they would like a spot to dump chips. Usually, landowners charge them, so to dump for free is a win-win!
The wood chips can help balance the carbon-to-nitrogen ratio in your compost pile in a major way. Otherwise, without enough “brown material” aka carbon, you’ll just have a tiny garbage pile.
Over time, you’ll create a super valuable resource that truly enriches your garden and reduces waste sent to landfills!
2. DIY Feed: Growing Chicken Fodder and Fermenting Chicken Feed
If you keep chickens on your homestead, growing your own chicken fodder is an excellent way to reduce feed costs and provide your birds with fresh, nutritious greens. Fodder can be grown indoors or outdoors, using seeds such as wheat, barley, or oats.
Simply sprout the seeds in trays or containers, and in just a few days, you’ll have a lush crop of greens ready to feed your chickens. This project not only saves you money but also ensures your flock gets the best possible nutrition – especially in winter when greens are sparse!
Shop Fodder Supplies on Amazon Here
Fermenting your chicken feed is another quick project you can set up to ensure your chickens are eating extra well AND help you save an incredible amount of money on feed.
It’s been said that a good 3-day ferment can reduce cost/feed by 40%!
What you need:
- 3 buckets
- Access to water
- Chicken feed
How to calculate how much feed to give your chickens:
Typically we feed between .25 and .33 cups per bird per day. If your birds do not free range at all, I would give them more than that.
You can also try reducing feed incrementally daily until you see a decrease in egg production, then add just enough to get back to that desired level of production.
Next, decrease that total amount (amount of feed x number of birds) by 40%.
This amount is what you put into the bucket. Then, cover it with water and let it sit for 3 days. You can tell it’s ready when the water covering the feed is bubbling. Tip: make sure there’s enough water to cover the top of the feed or it will mold.
Note that cold temps can stop this process. We usually stop fermenting in winter because our garage isn’t heated and we don’t have the space indoors for this (often messy) project.
If you want to learn all the tips and tricks I’ve collected after raising chickens for 6 years, check out my Beginners’ Guide to Raising Chickens. It also includes a special bonus section covering natural remedies for common chicken ailments as well!
3. DIY Rain Water Catchment
Water is a precious resource on any homestead, and collecting rainwater is a smart way to reduce your reliance on municipal water supplies or even your home’s private well – which is usually accessed with help by electricity.
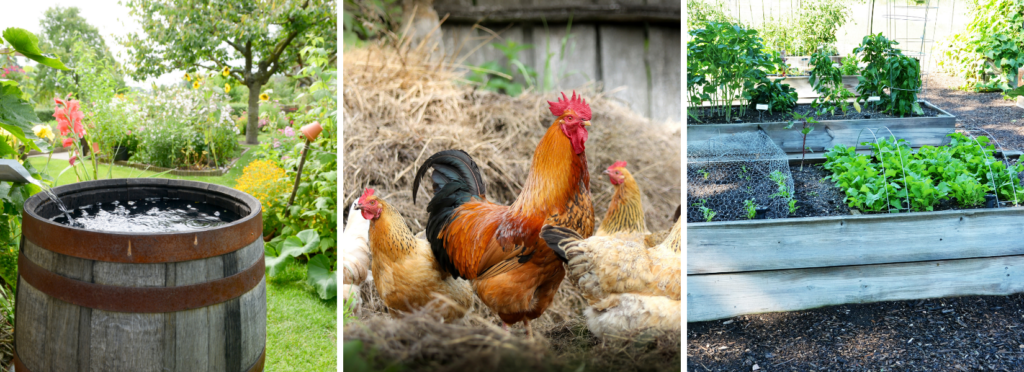
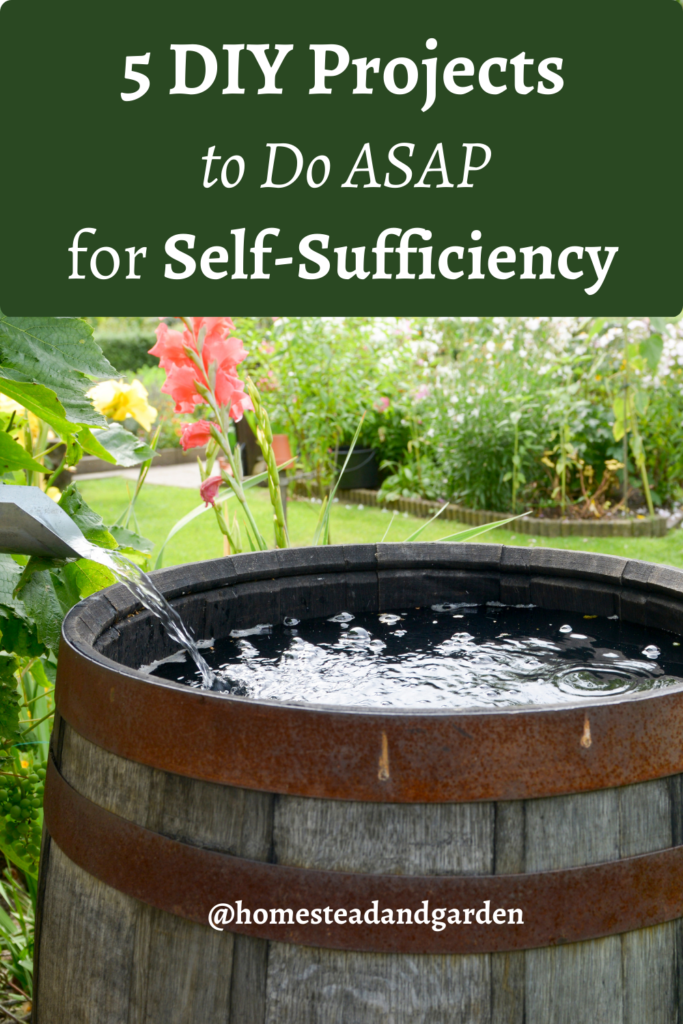
Set up rain barrels or a larger water catchment system to capture rainwater from your roof or any outbuilding roof. We collect from our garden shed, chicken coop, and greenhouse!
This collected rainwater can be used for watering your garden, crops, or livestock, reducing your utility bills and environmental footprint.
You can buy a simple downspout from your existing house gutters, or you can install a new gutter system onto a shed or chicken coop and direct it to a large vessel for catchment.
We prefer to use 275-gallon IBC totes. We just had to add a cover, a garden hose attachment spout, and a screen filter for the top.
Shop rainwater catchment accessories here
4. DIY Seed Saving
Preserving heirloom and open-pollinated seeds is crucial for maintaining biodiversity and self-sufficiency on your homestead.
Learning how to save seeds from your favorite vegetables, fruits, and herbs will create a self-sustaining seed bank. Saving seeds is like nature’s way of giving you free plants for the future. ‘
Here’s how to do it:
1. Pick Your Winners: First off, choose your favorite, super-healthy plants from your garden. These are the ones that are really thriving.
2. Let Them Grow Up: Let those chosen plants grow up and do their thing. Wait until the fruits or seed pods they’re producing are fully ripe.
3. Timing is Everything: Don’t rush it. Grab those seeds when they’re all grown up but not quite ready to pop out on their own. You’ll know it’s time when the pods or fruits look different and kind of dry.
4. Set Up Shop: Get yourself a clean and tidy workspace. Any old table or tray lined with paper towels will do.
5. Get the Seeds Out: For fruits like tomatoes or peppers, cut ’em open and scoop out the seeds. For pods, gently pry them open and grab the seeds. Just be gentle – we don’t want to hurt those precious seeds.
6. Give Them a Rinse (if needed): Some seeds might have gunk on them. No worries, just give them a rinse under the faucet in a fine sieve to get rid of any leftover pulp or stuff.
7. Air Dry Time: Spread those seeds out on a paper towel or screen to air dry. They should be all alone, not piled up. Let them chill and dry for a few days to a week, depending on the type of seed. They should be bone dry before we move on.
8. Label and Stash: Toss your dry seeds into envelopes or little airtight containers. Write down what they are, when you nabbed them, and any other info you want to remember. Then put those containers in a cool, dry spot away from the sun and moisture.
9. Germination Test (if you want): Do you want to check if your seeds are still good before planting them? No problem. Put a few on a damp paper towel, stick it in a sealed plastic bag, and see if they start sprouting after a few days.
10. Share or Plant: Your saved seeds are now ready for action. You can keep them for your next garden adventure, give them away to pals, or plant them when the next growing season rolls around.
Remember, not all plants make seeds the same way, so look up the deets for the specific plants you’re dealing with. Also, some plants, like hybrids, might give you seeds that don’t turn out exactly like the parent, so keep that in mind. Happy seed-saving!
5. Make a DIY Raised-Bed Medicinal Garden
In addition to growing your own food, consider cultivating a raised-bed medicinal garden.
This project allows you to grow a variety of herbs and plants with medicinal properties, such as lavender, chamomile, echinacea, and calendula.
These herbs can be used for natural remedies, teas, and salves, reducing your reliance on pharmaceuticals and promoting holistic health on your homestead.
Here are 12 Benefits of Gardening with Raised Beds:
1. Soil You Can Brag About: With raised beds, you’re the boss of your soil. You can mix up a dreamy combo of soil, compost, and other goodies to make your plants super happy. Say goodbye to lousy, uncooperative dirt!
2. No Swampy Soil Here: Raised beds are like the VIP section for your plants, where they don’t have to deal with soggy feet. Goodbye, root rot!
3. Early Bird Special: These beds warm up faster in the spring, so you can start planting earlier. It’s like a head start for your veggies!
4. Easy Maintenance: Weeding, pruning, and picking are way easier because you’re not bending and crouching all the time. Your back will thank you.
5. Pesky Pests, Be Gone: Raised beds can help keep those garden nibblers at bay. You can put up barriers like netting or screens to keep pests out and let your plants thrive.
6. Eye Candy: Raised beds can be a real looker in your garden. Customize them to match your style, and they’ll add some serious pizzazz to your outdoor space.
7. Happy Roots: Your plant’s roots will be doing the happy dance with all that extra oxygen in raised beds. That means healthier plants!
8. Accessible Gardening: Everyone can join the gardening party with raised beds. They’re at a comfy height, so no more excuses for not getting your hands dirty.
9. Keep It Neat: Say goodbye to garden chaos. Raised beds help you keep everything organized. You can even play matchmaker for your plants with easy crop rotation.
10. Size Matters (Your Way): You’re the designer here. Make your beds any size or shape you want to fit your garden space and style. Flexibility at its finest!
11. Less Squishing: Unlike traditional gardens, you won’t squish your soil flat by walking on it. This means happier roots and better water flow.
12. Boost Your Harvest: With the right soil mix and some TLC, you can get more veggies in less space with raised beds. It’s like gardening efficiency mode!
13. Soil Erosion? Nah: Raised beds are like soil bodyguards during heavy rains. They keep your precious dirt from washing away.
In a nutshell, raised bed gardens are a wonderful way to garden, and make it easy to keep your medicinal garden close to home, weed-free, and well-maintained.
All-in-one medicinal garden seed kit
Bonus Project: DIY Chicken Coop for Breeding
If you’re already raising chickens for eggs and/or meat, consider building a separate coop for breeding purposes.
Breeding your own chickens ensures a steady supply of chicks, allowing you to select for traits that suit your homestead’s needs.
Building a dedicated breeding coop can also help you control the breeding environment, optimize breeding success rates, and maintain genetic diversity in your flock.
If you need some ideas for a DIY chicken coop this book is very helpful.
Want to learn more about chicken keeping? Check out my ebook Guide to Raising Chickens for Beginners.
Each of these 5 (well 6 with the bonus!) DIY homestead projects will bring you one step closer to achieving greater self-sufficiency on your homestead, making you less reliant on external resources and more resilient in the face of uncertain times.
So roll up your sleeves, get your hands dirty, and start transforming your homestead into a self-sufficient haven!

